
Last Updated on March 25, 2024 by
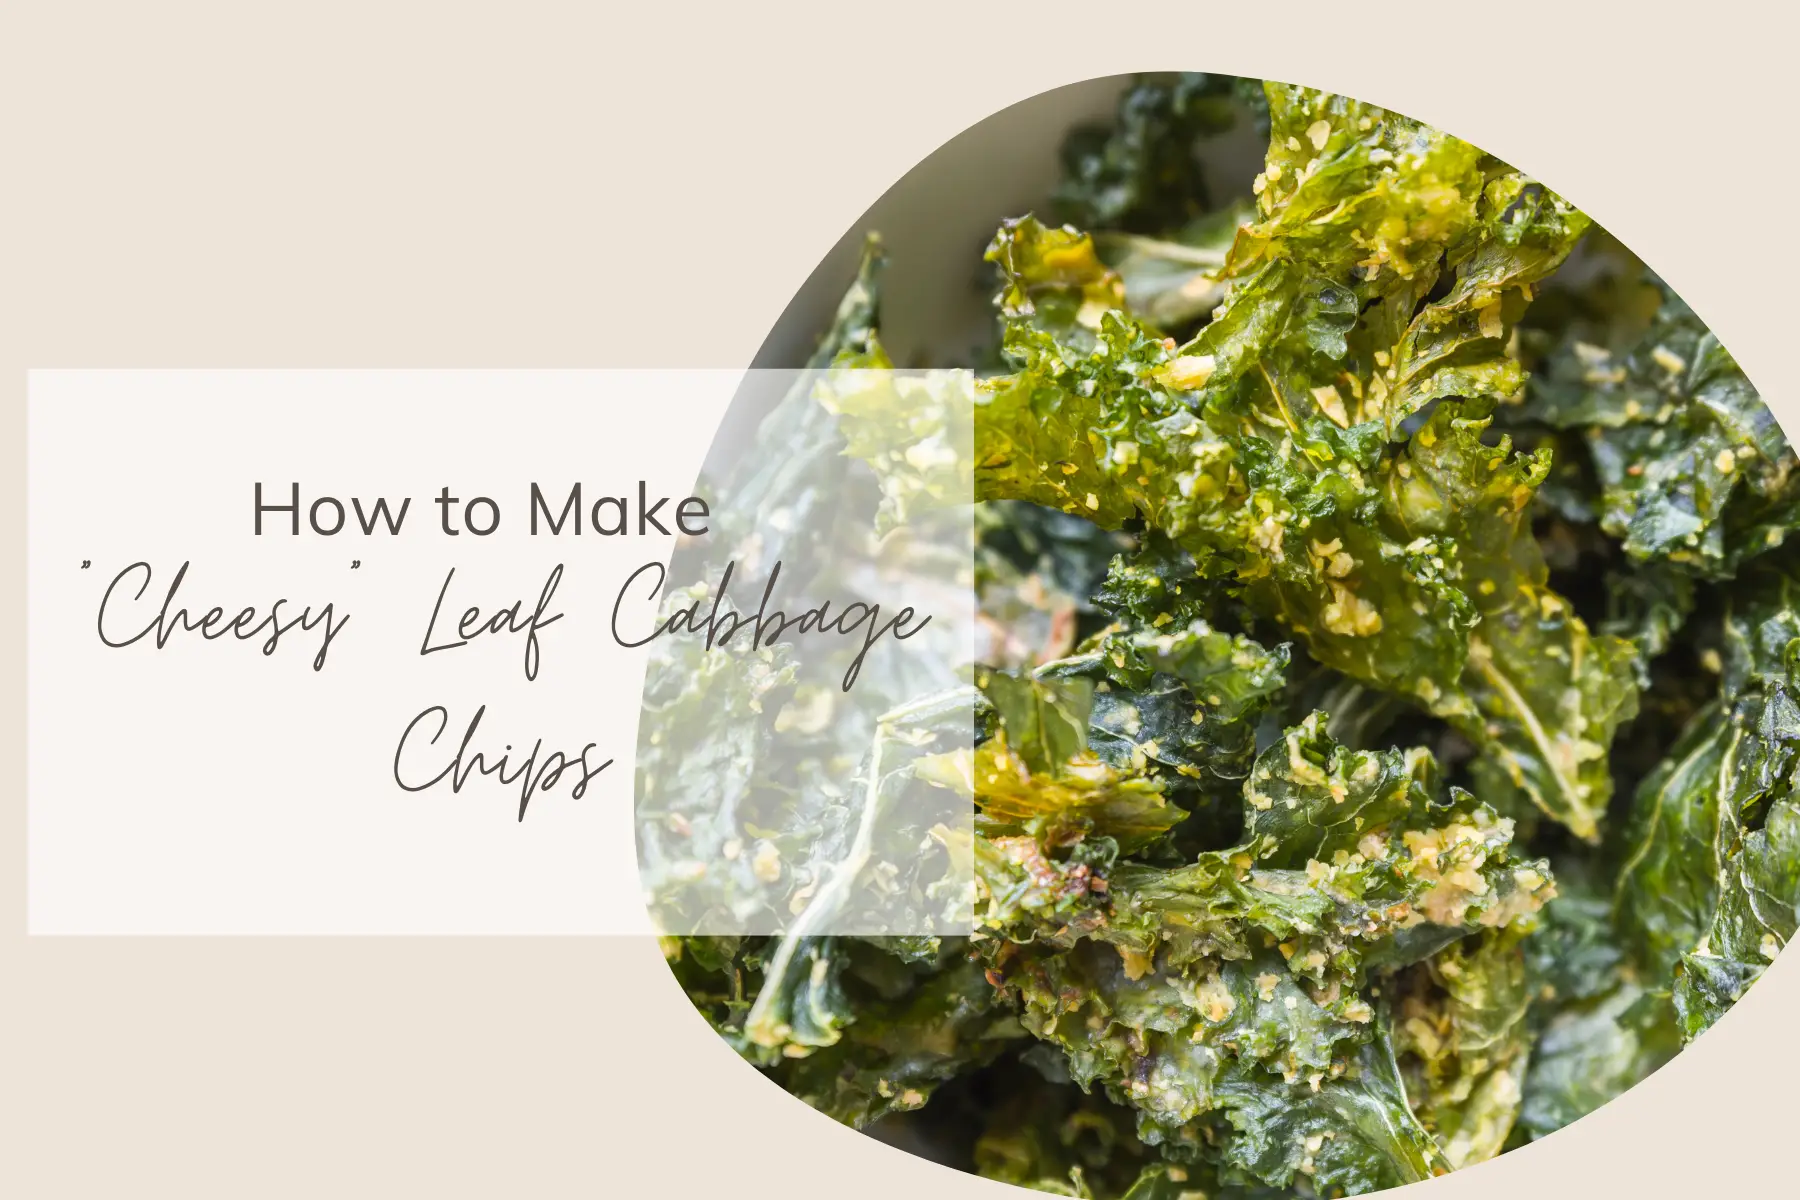
This recipe will show you how to make homemade cheesy Kale or Leaf Cabbage Chips at Home. It includes instructions for using either a dehydrator or an oven.
Growing up, you might not have known what leaf cabbage or better known as “kale” was. In fact, the chances of you being aware of kale before it became the “superfood” of the moment might be low. And, honestly, not everyone liked it.
Actually, it was a food that was mostly associated with vegans and health nuts. And, this is a category that not everyone falls under.
However, as kale became more mainstream, people began to step out of their comfort zone. If you are still on the fence about kale, but still want to try at least once, you can opt for kale or leaf cabbage chips!
Kale or leaf cabbage chips can be quite expensive at the grocery store. So, you might not find yourself buying it often.
If you are growing your own kale, however, you can try to make your own kale chips. And the perfect equipment to make this possible is a dehydrator (or an oven).
In order to replicate the nacho-flavored, crunchy kale chips you can buy at $7 per small bag, you will need a mixture of mixed cashews and nutritional yeast. This will give these kale chips their unique crunch and distinctive cheesy flavor.
Nutritional Yeast: What Is It and Where to Buy It?
Nutritional yeast is an inactive yeast form that grows on top of molasses. However, it doesn’t taste like molasses! It tastes more like cheese, as you can guess!
Since real cheese does not dehydrate well due to its fat content, nutritional yeast is the best flavoring for this cheesy kale or leaf cabbage Chips. Also, using nutritional yeast makes these vegan-friendly, which is essential with anything kale.
If you are from Canada, you might be able to find nutritional yeast in bulk at Bulk Barn. But, if you don’t live near one, you can order it online.
How to Make Cheesy Leaf Cabbage Chips at Home
After you have your kale, some cashews, and nutritional yeast, all you need is a few simple ingredients to make some delicious homemade cheesy kale or leaf cabbage Chips. Here are the ingredients you will need to make a batch:
- One large bunch kale or leaf cabbage
- 1 cup cashews
- ½ cup nutritional yeast
- 2 tablespoons avocado oil
- 2 tablespoons lemon juice
- 2 large garlic cloves (raw)
- ½ teaspoon garlic powder
- ½ teaspoon onion powder
- ¼ teaspoon salt (I use fine sea salt)
First, soak the cashews in water for at least an hour or two. This will hydrate and soften them. While the cashews are still soaking, wash the kale, and remove the leaves from the stems. Then, cut the leaves into smaller pieces.
You must dry your kale thoroughly. The sauce will not stick if there is any amount of moisture on the leaves. To dry my leaves, you can try spinning them in a salad spinner, then place it on a paper towel.
Next, you need to make your “cheesy sauce.”
How to Make Cheesy Cashew Sauce for Leaf Cabbage Chips
Drain the cashews, and set them aside. Next, add all the ingredients to the bowl (except for the kale) into a food processor, or high-powered blender.
Blend on high until all ingredients are combined. And, it should look like a thick, creamy sauce.
To get the mixture to become creamy, you may need to add some water. You should only add a tablespoon of the mixture at a time to ensure that it doesn’t become too watery that won’t stick to the kale leaves.
After the sauce has been well-blended, add the kale leaves into a large bowl and mix in the sauce. Then, use your hands to toss and massage the sauce into all the leaves. Make sure to coat every leaf.
When your kale leaves have been coated in the cheesy sauce, it’s time to place them on trays and begin dehydrating them.
Make Leaf Cabbage Chips in a Dehydrator
Place your coated kale leaves in a single layer on your dehydrator trays. Then, put the trays inside the dehydrator.
The dehydrator temperature should be set to 135°F, and set the timer for 6 hours.
That’s it! It’s so simple, right?
Make Leaf Cabbage Chips in the Oven
You can also dehydrate your kale or leaf cabbage chips in an oven if you don’t own a dehydrator.
First, preheat the oven to 200°F. Lay the coated kale leaves in one layer on a parchment paper-lined baking tray. Then, bake for about one hour. You should, however, check the kale or leaf cabbage chips after 45 minutes to determine if they are done since every oven is different. Some ovens run a little hotter or cooler than others.
Similarly, if you plan to keep them for any length of storage, ensure they are dry enough. Any moisture left could lead to mold forming.
If your oven goes below 200°F, you can set it to the lowest temperature. You might need to dry them for a bit longer if you are drying at a lower temperature. So, to make sure that your kale chips are dry, check them every 15 minutes or after an hour.
How to Store Your Homemade Leaf Cabbage Chips
You will need to know how to store kale or leaf cabbage chips if you made enough to last you a few days. Luckily, they will keep for a long time if they are completely dry. And, you can store them in a Mason Jar, Ziplock bag, or a FoodSaver bag to ensure they are well-sealed and stay fresh. You can also store them in an oxygen absorber to extend their shelf life.
NOTE: Moisture can lead to mold forming, so make sure that your kale or leaf cabbage chips are as dry as possible. Don’t let any residual be left behind.
This is one of the advantages of using a dehydrator. Some chips are slightly less dehydrated than others when you use an oven to dry them.
That’s it! It’s pretty straightforward. Right?
Ingredients
- One large bunch of leaf cabbage or kale, washed, de-stemmed and torn into bite-size pieces
- 1 cup cashews, soaked for at least an hour
- ½ cup nutritional yeast
- 2 tablespoons avocado oil
- 2 tablespoons lemon juice
- 2 large garlic cloves
- ½ teaspoon garlic powder
- ½ teaspoon onion powder
- ¼ teaspoon salt (I use fine sea salt)
Instructions
- Drain the cashews, and set them aside. Next, add all the ingredients to the bowl (except for the kale) into a food processor, and blend on high until all ingredients are combined. It should look like a thick, creamy sauce. To get the mixture to become creamy, you may need to add some water. You should only add a tablespoon of the mixture at a time so you won’t overdo it.
- Add the kale leaves into a large bowl and mix in the sauce. Then, use your hands to toss and massage the sauce into all the leaves. Make sure to coat every leaf.
- When your kale leaves have been coated in the cheesy sauce, it’s time to place them in a single layer on your dehydrator trays, or parchment paper-lined baking trays (if you are using an oven).
- If you are using a dehydrator, set the temperature to 135°F, and set the timer for 6 hours. If you are using an oven, set the temperature to 200°F, and let it bake for approximately 45 to 60 minutes.
- Keep dried kale chips in a Ziplock bag or Mason jar in your pantry.
