
Last Updated on March 28, 2024 by
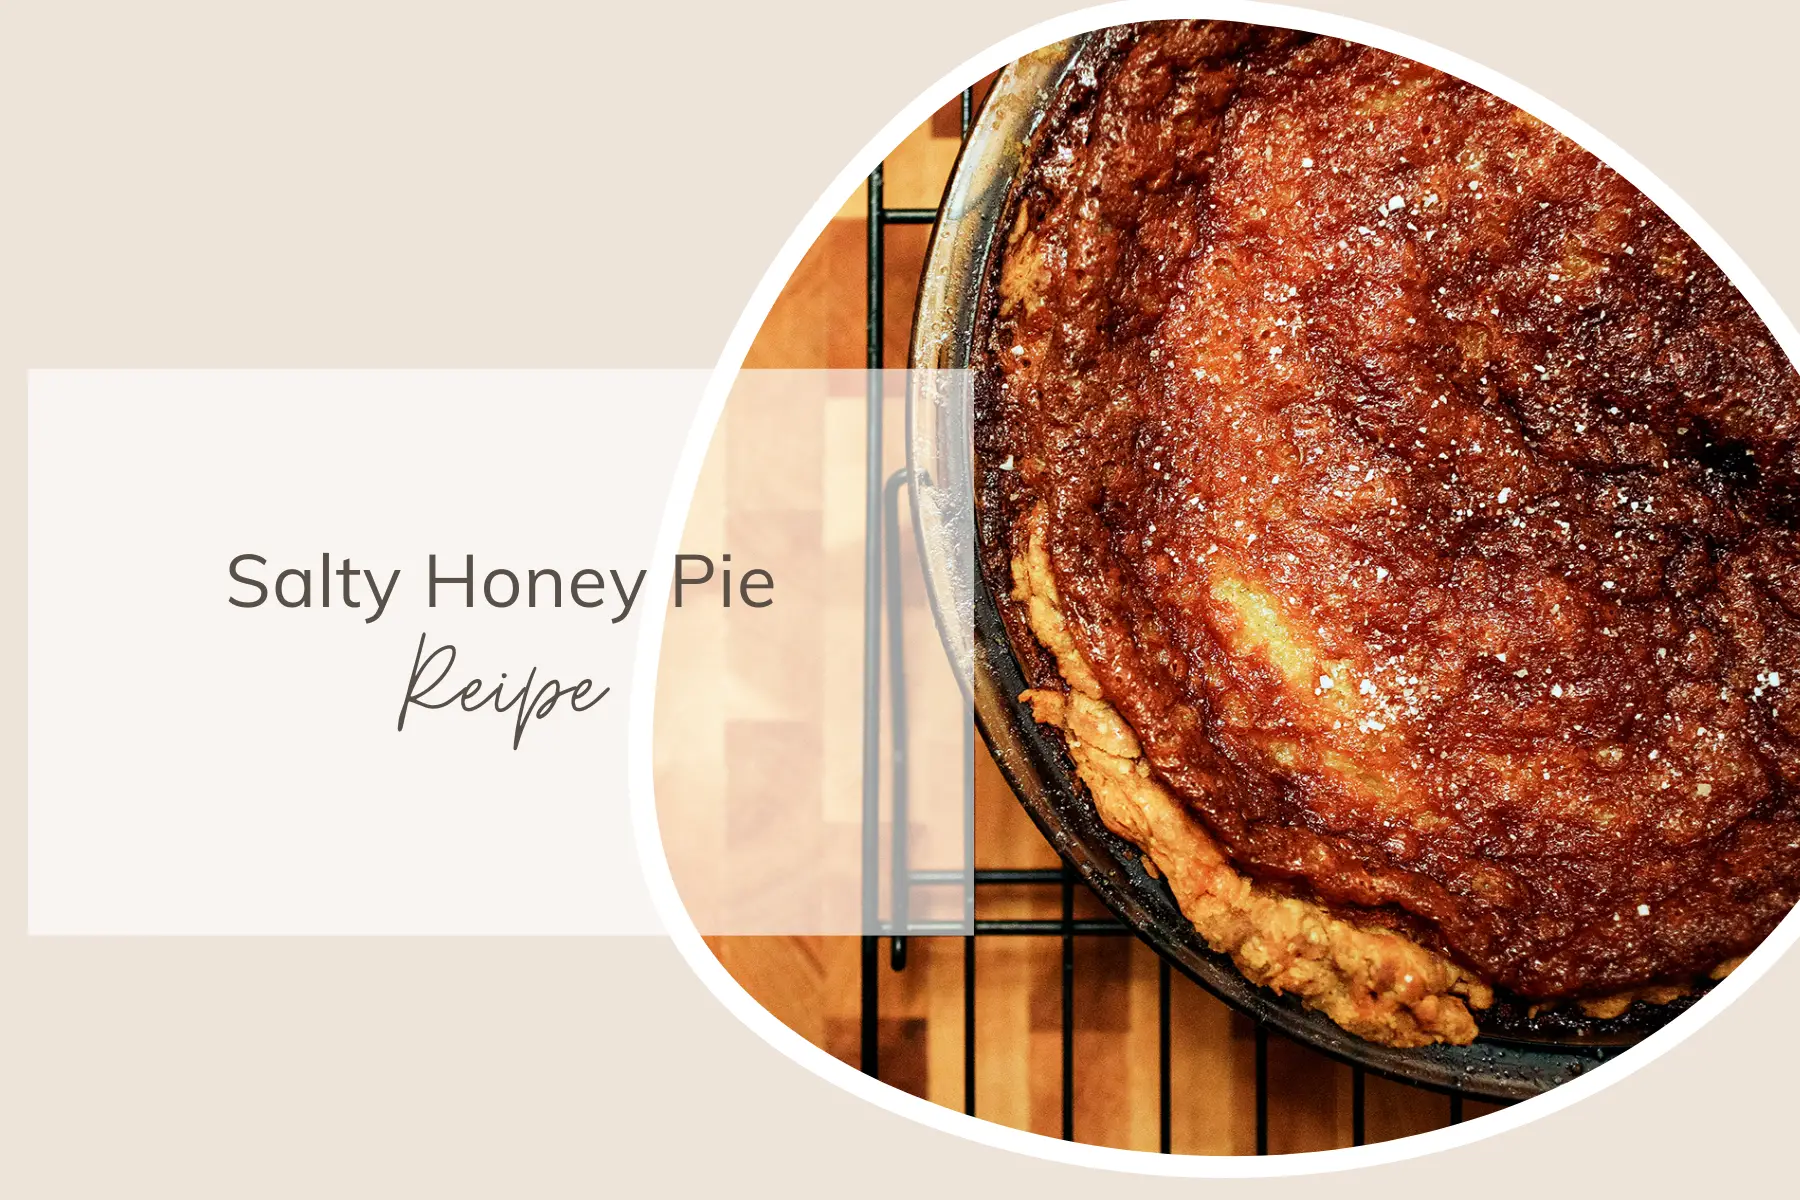
The Salty Honey Pie by Four & Twenty Blackbirds is a beauty. It is an iconic New York City pie, which is made with an all-butter crust, then filled with butter, sugar cream, and honey. You won’t easily forget this pie. A sprinkle of flaky sea salt on top is a perfect complement to this rich and full-flavored pie. You’ll fall in love with this family-owned pie shop after just one bite.
The Four & Twenty Blackbirds ladies have generously allowed us this opportunity to share their salty honey pie recipe from their cookbook (which you absolutely need). If you intend to enjoy your pie in the early evening, you must begin making it mid-morning, so you will have a lot of time for each part of the process of pie-making.
Make the butter crust first. Refrigerate, then freeze the crust before you start making the filling. The filling is easy to put together, and the whole pie bakes in under an hour. The part where you will struggle, however, is the 2 to 3 hours of waiting before you eat. It’s not going to be easy, but it is well worth every ounce of patience from the first bite you make.
Salty Honey Pie Recipe Card
INGREDIENTS
Single All-Butter Crust
- 1 1/4 cups unbleached all-purpose flour
- 1/2 tsp kosher salt
- 1 1/2 tsp granulated sugar
- 1 stick (1/4 pound) cold unsalted butter, cut into 1/2-inch pieces
- 1/2 cup cold water
- 2 Tbsp cider vinegar
- 1/2 cup ice
Filling
- 1 stick (1/4 pound) of unsalted butter, melted
- 3/4 cup granulated sugar
- 1 Tbsp white cornmeal
- 1/2 tsp kosher salt
- 1 teaspoon vanilla paste (Nielsen-Massey makes a readily available one)
- 3/4 cup honey
- 3 large eggs
- 1/2 cup heavy cream
- 2 tsp white vinegar
- 1 to 2 tsp flake sea salt for finishing
INSTRUCTIONS
Pie Crust
- In a large bowl, combine the flour, sugar, and salt. Use a bench scraper or spatula to add the butter pieces and coat with the flour mixture. Then, use a pastry blender to cut the butter into the flour mixture. You can work quickly until you are left with butter pieces that are roughly pea-sized (some larger butter pieces will be fine; you should be careful not to over-blend).
- In a small bowl or large measuring cup, combine the cider vinegar, water, and ice. Add 2 tablespoons of the ice water mixture to the flour mixture. Then, use a bench scraper or spatula to mix and cut it, until it is fully incorporated. You can add more of the ice mixture to the flour mixture, 1 to 2 tablespoons at a time, and use your bench scraper, hands, or both, to combine the dough until it forms a ball, with some dry bits remaining. To combine the dough all together, squeeze and pinch your fingertips. If necessary, sprinkle the dry bits with more ice water mixture. Shape the dough into a flat disc and wrap the dough in plastic, then let it rest in the refrigerator for at least one hour, or preferably, overnight, to give the crust some time to mellow. If wrapped tightly, the dough can be kept in the refrigerator for 3 days or frozen for 1 month.
- Once the dough has been refrigerated for an hour, take it out of the fridge, and let it sit for 5-10 minutes before you start rolling. Lightly flour your rolling pin and work surface. Start by placing the dough in the center of your work surface. Then, begin from slightly below the middle of the disc, and use an even stroke to roll the dough away. Turn the disc an eighth to a quarter turn counterclockwise after each stroke. Then, roll again. If you have one, you can use a French rolling pin. As you work, sprinkle more flour underneath and on top of your dough to avoid it from sticking.
- The disc will get larger, so try not to overstretch the middle of the dough. Once the dough circle measures about 8 to 9 inches in diameter, you can switch to a regular roller (if you’re using a French rolling pin). Keep rolling in the same pattern until the dough is approximately 1/8 inch thick and 2 to 3 inches bigger than the pan you are using.
- Next, fold the dough in half and lay it across one side of a well-buttered pie pan. Make sure to position the seam in the center. Unfold the disc, and gently slide and fit the dough down into the pan. However, do not pull or stretch the dough. Then, you should make sure that there is no space between the dough and the pan; if you see air bubbles, burst them with a fork. Trim the dough overhang and allow 1 to 1 1/2 inches of excess, using the inner rim of the pan to measure.
- In order to prepare for crimping, roll and pinch the excess dough under to ensure that the edge is flat on the pan’s rim. Don’t be afraid to pinch tightly. Otherwise, the crust could crack and unravel while baking. Dust your hands with flour if your fingers stick to the dough. Continue folding and pinching the dough around the pan’s circumference until you have a wall of dough that is flexible and can be fluted. Then, you will use your thumb and index fingers to form the letter C, which the thumb of the opposite hand should fit perfectly into. Hold the C on the crust’s “wall” and push your thumb inward while pushing your opposite thumb into the center of the C from the inside of the crust’s “wall”. This will be your mold for crimping the edges of the pie.
- Place the pie crust in the freezer Before filling and baking, the crust must be frozen.
Filling
- Place a rack in the center of the oven and preheat the oven to 375°F.
- Mix together the melted butter, sugar, cornmeal, salt, and vanilla paste in a large bowl. Add in the honey and eggs one at a time, then you can add the heavy cream and vinegar.
- Next, put the frozen pie shell on a rimmed baking sheet, then you can either strain the filling through a fine-mesh sieve directly into the pie shell, or strain it to a separate bowl and pour it into the shell. Bake the pie on the middle rack of the oven for 45 to 50 minutes. Once the edges have begun to set, rotate 180 degrees, which happens approximately 30 to 35 minutes through baking. When the edges have puffed up, the middle is no longer liquid and looks set like gelatin, and the top is golden brown, the pie is done. Let it cool completely on a wire rack for 2 to 3 hours. Then, sprinkle with flake sea salt, and serve at room temperature or slightly warm.
- The salty honey pie can be refrigerated for up to 4 days or kept at room temperature for up to 2 days.
